Capture Incoming People and Vehicles Using Raspberry Pi and LIDAR

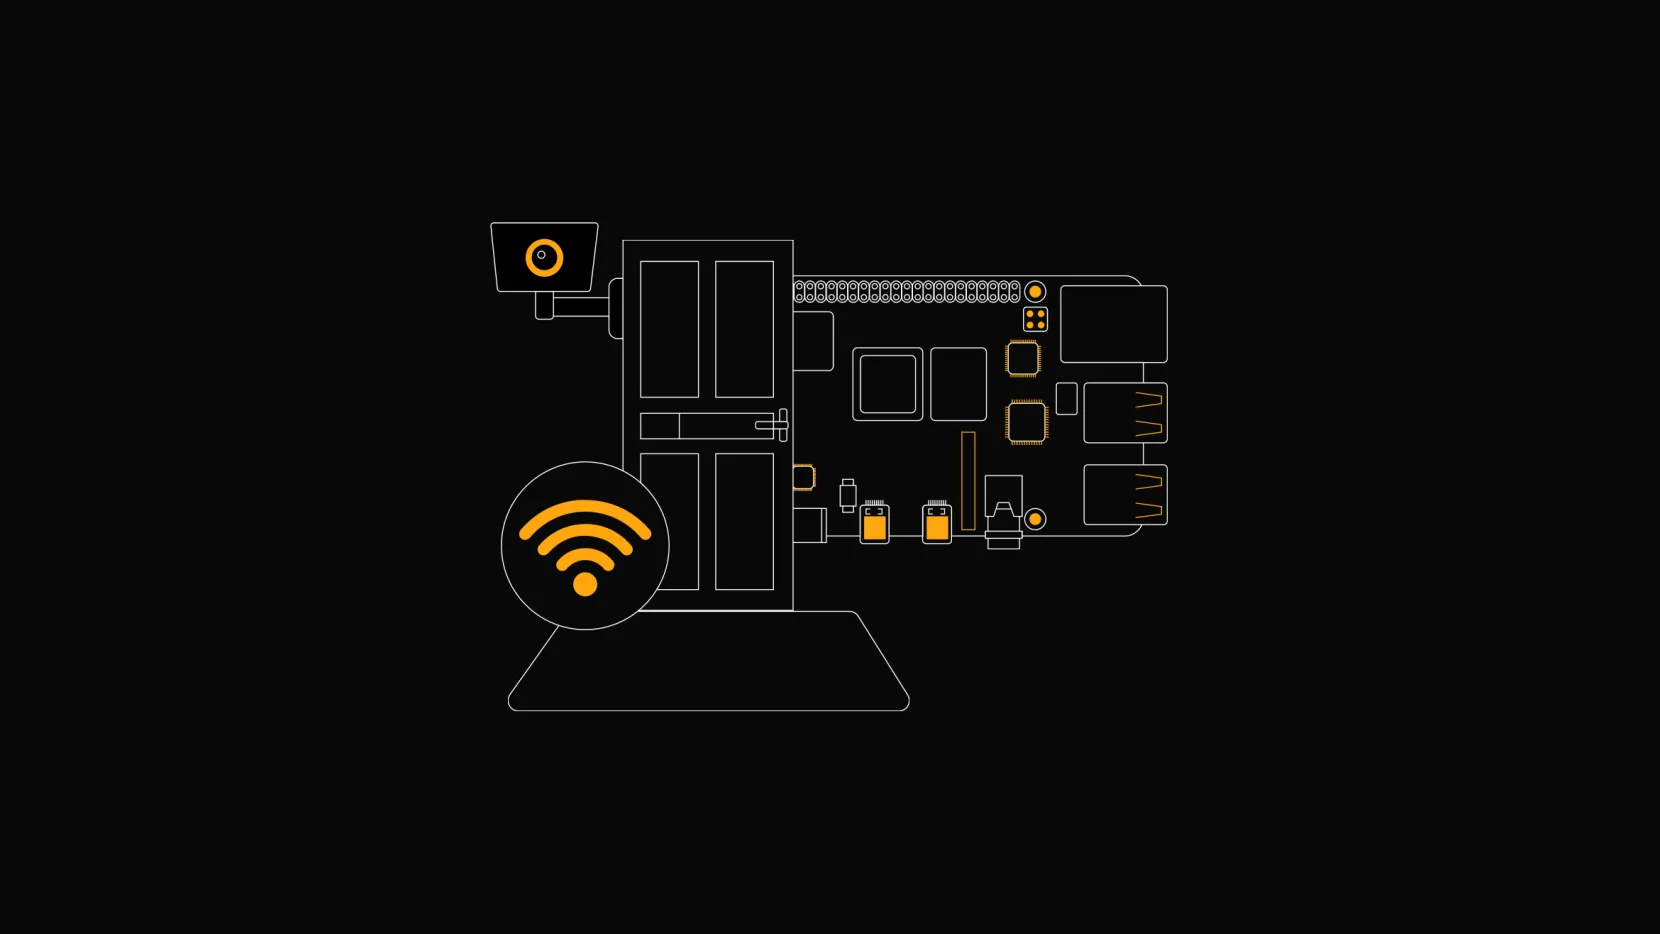
A motion sensor and a camera attached to the Raspberry Pi, connected to the Internet, can create a database of people entering a building, license plates of cars entering a garage, and more.
Motion Detection
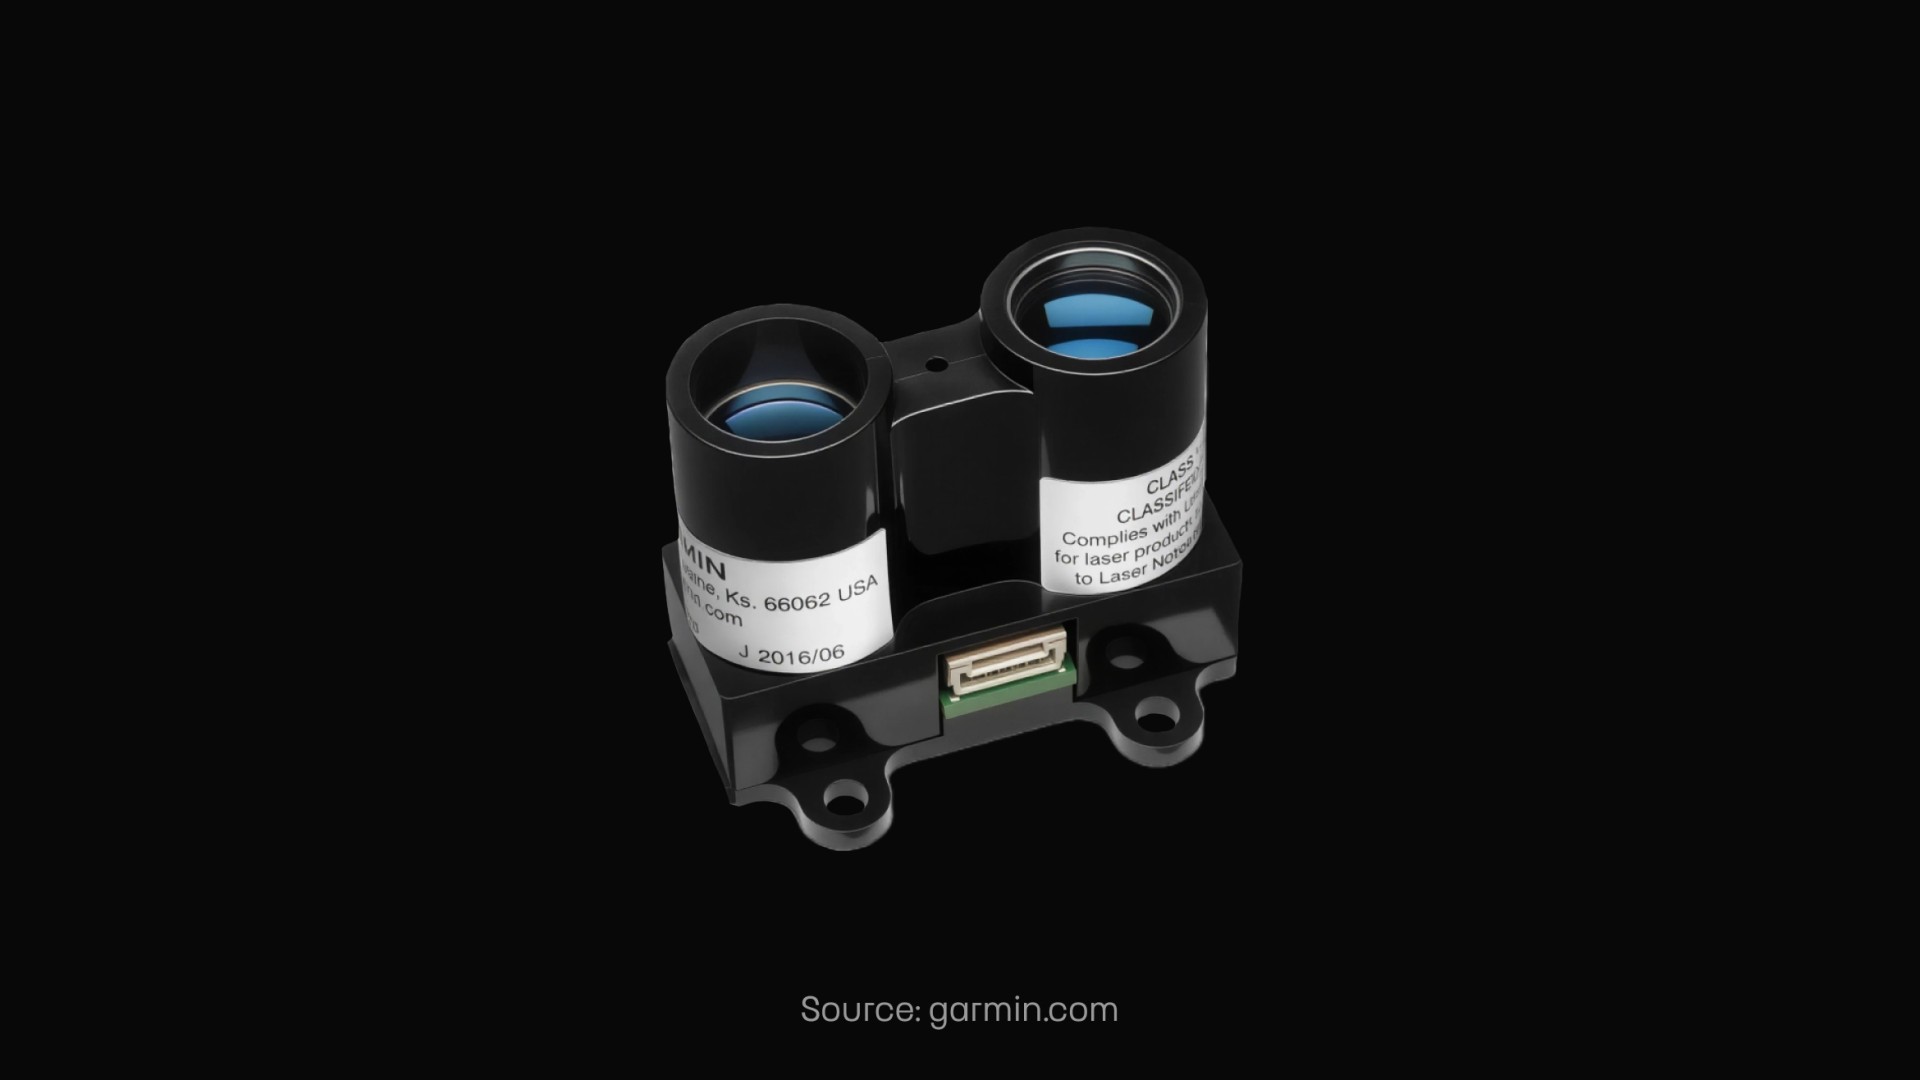
The LIDAR sensor wasn’t my first choice when I was looking for a suitable distance sensor. Ultrasonic sensors came to mind first, but they made my solution unusable in some circumstances. Sensors like HC-SR04 (often used with Arduino) are small, simple, and inexpensive, but they are suitable only for shorter distances, and they can’t fulfill the project’s requirement of detecting objects 6–10 meters away. Outdoor weather-resistant sensors, such as the MB7092 XL-MaxSonar-WRMA1, can detect regular objects with surfaces like glass, wood, or steel, but fail to detect people wearing various types of clothing. Also, at more considerable distances, people weren’t detected at all at more considerable distances because of the wide pulse range. GARMIN’s LIDAR-Lite v3 sensor (optical with a laser) solved all my problems with precise motion detection in large distances, but it was also the most expensive of all the ones I’ve tried.
How to Select Only Incoming Objects?
Since my use case required handling only specific situations, I had to implement an algorithm to distinguish between incoming objects (approaching the sensor) and objects leaving the area. The Python script reads values from the sensor at 20 Hz and, for improved accuracy, averages several values to reduce the risk of false positives. Average values are then compared, and their increase or decrease is evaluated. A higher value indicates a greater distance, meaning the object is farther away. A lower value indicates a smaller distance, so an object is coming closer. After analyzing a few real situations, I’ve set a minimum difference between values that must be met before considering that value.
Capture the Object
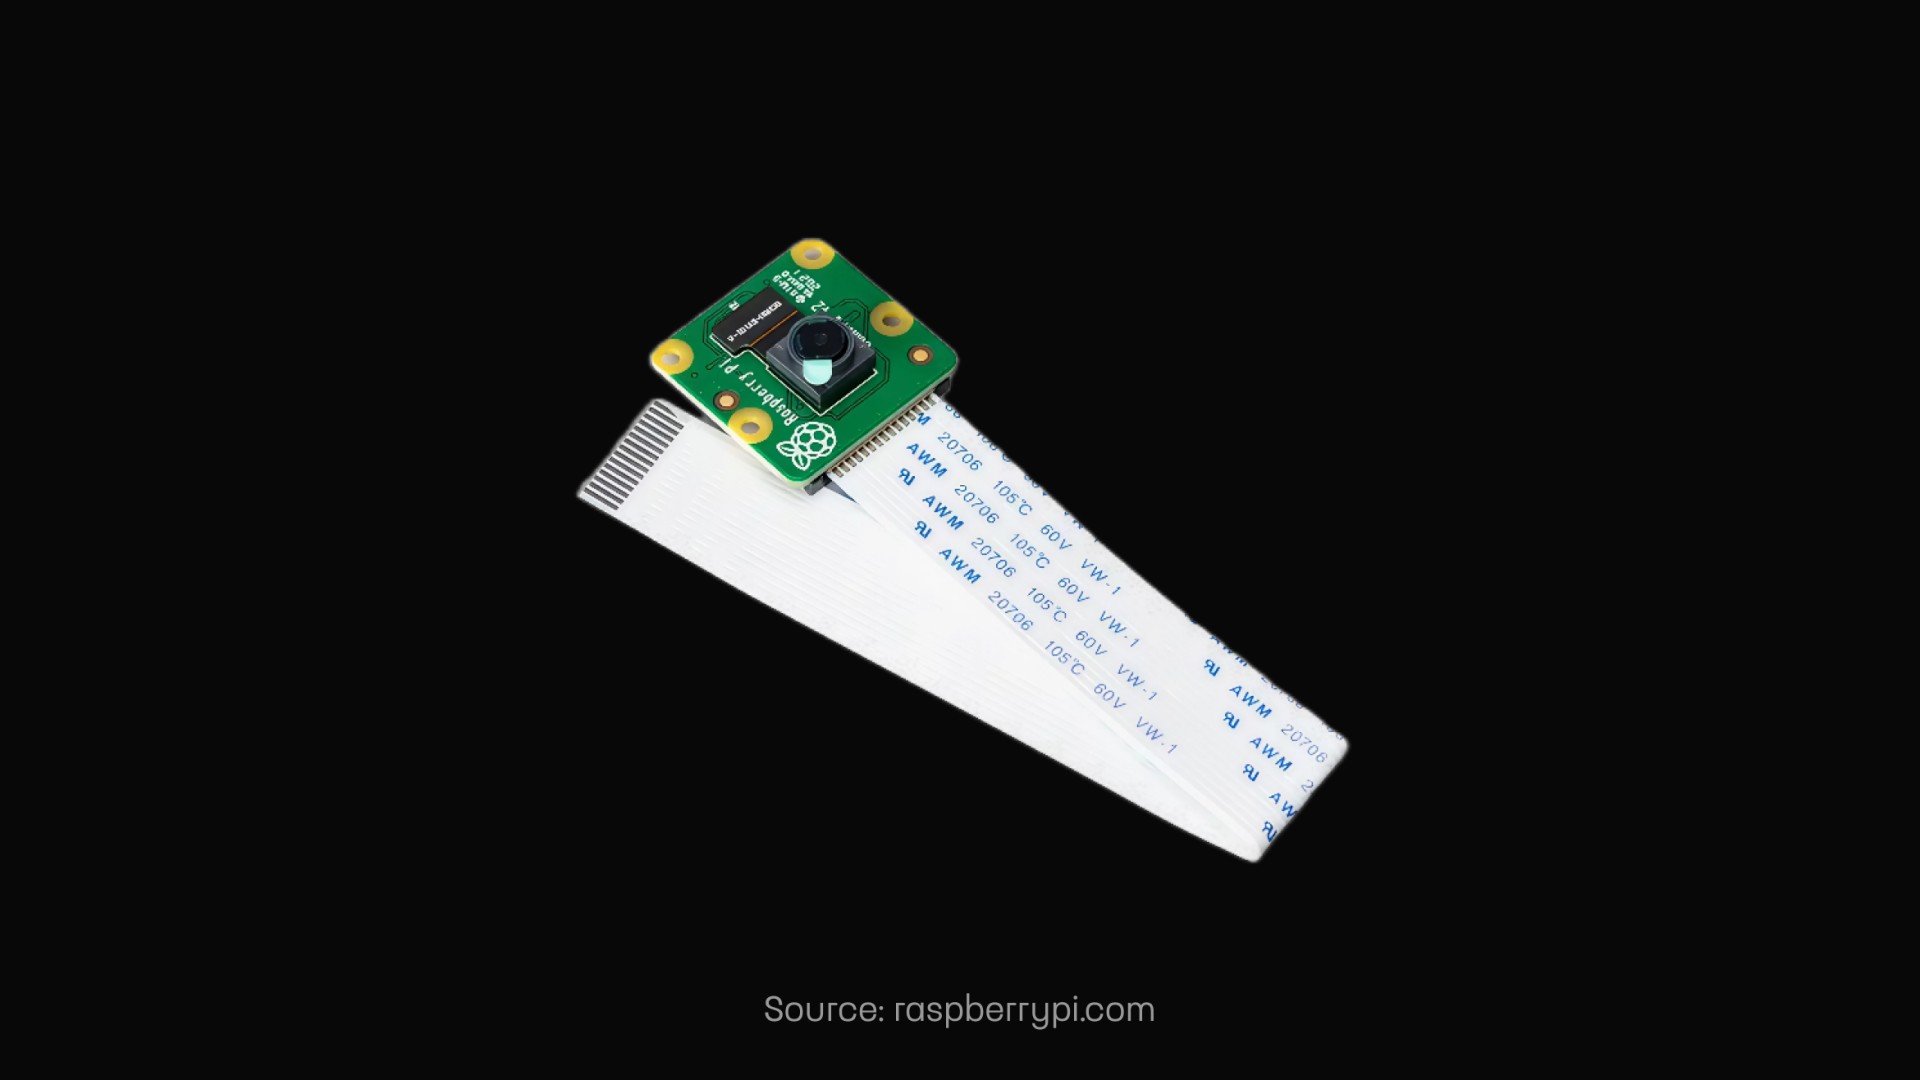
The motion sensor triggers the camera, taking a photo immediately upon command. The script uploads a photo asynchronously, so no detection is missed due to a delay.
Configurability
Every numeric variable in the script can be configured via the user interface provided by the backend application running on a remote server. Minimum and maximum distances, frequency, number of values to average, camera resolution, and other variables can be adjusted remotely to meet the needs of every place where this solution will be used. Thus, for example, places with low-quality internet connections can use a smaller camera resolution to speed up photo uploading.
The Cost of Hardware And Are There Other Options?
The hardware components cost around 200 EUR, which is higher than I expected for this project. That is mainly due to the higher price tag of the LIDAR sensor, although a few cheaper LIDAR sensors are available on the market. Test one piece thoroughly before ordering more to be sure the model fits the use case. Additionally, the most expensive Raspberry Pi 4 configuration (4GB RAM) was used; therefore, the price can be reduced by using a cheaper variant. The Camera Module v2 was the only officially recommended option for the Raspberry Pi.
TL;DR
Using the Raspberry Pi, LIDAR sensor, and Camera Module, I’ve built a compact and portable hardware solution for detecting incoming objects, such as people and vehicles, photographing them, and uploading the images to a remote server. Rich configurability ensures its usability in a wide range of environments, from small offices to long tunnels. It may sound like a trivial solution, but this project solved real-world issues for the client in the MVP phase. With my team at Touch4IT, we prefer to test the MVP first, so it’s cheaper and faster for our customer, then iteratively improve the solution for final production use.

Need Help Bringing Your Idea to Life?
Do you want to build something outside your expertise? Lacking an innovation department or the right people? We would be happy to discuss your situation and help you find the right solution.